
Crispy pork lard has a bad reputation of clogging arteries hence shortening one’s life. But I am raised in a family which has a good relationship with food – no matter how ‘unhealthy’ some food are claimed to be. We happily eat everything moderately.
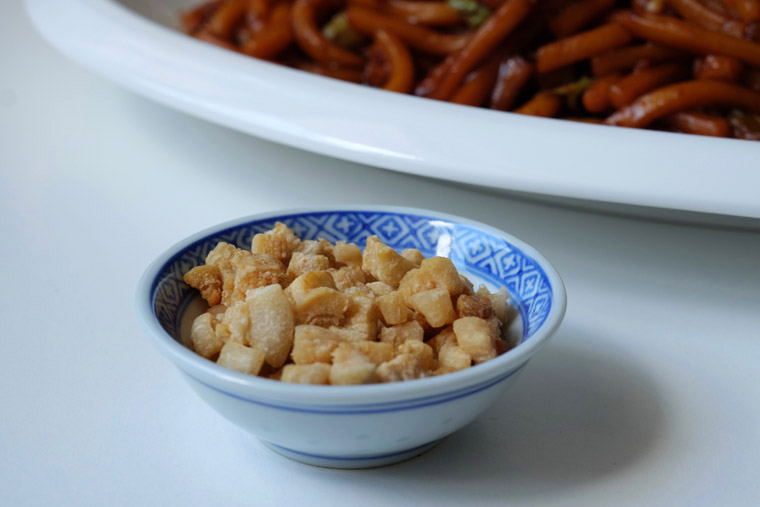
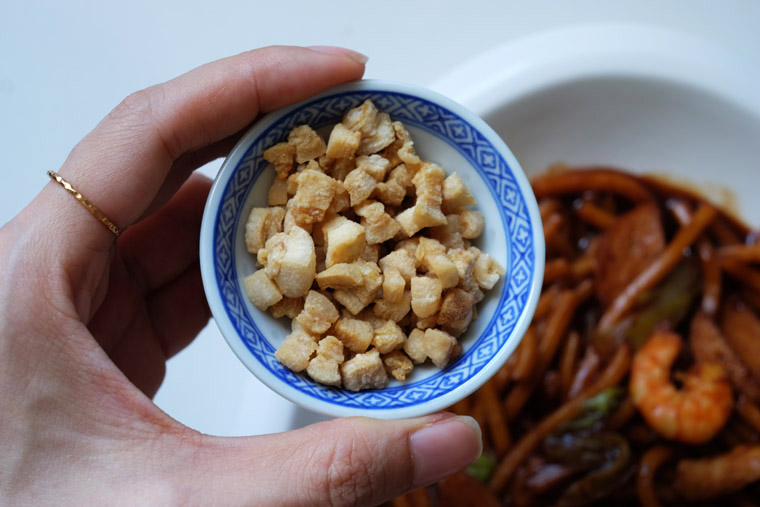
In my family, we consume crispy pork lard cautiously and in small portion. We love sprinkling these flavourful and crunchy fats over Hokkien Mee. In our opinion, Hokkien Mee without crispy pork lard is not ‘true’ Hokkien Mee. Yup, that’s how much we like it.
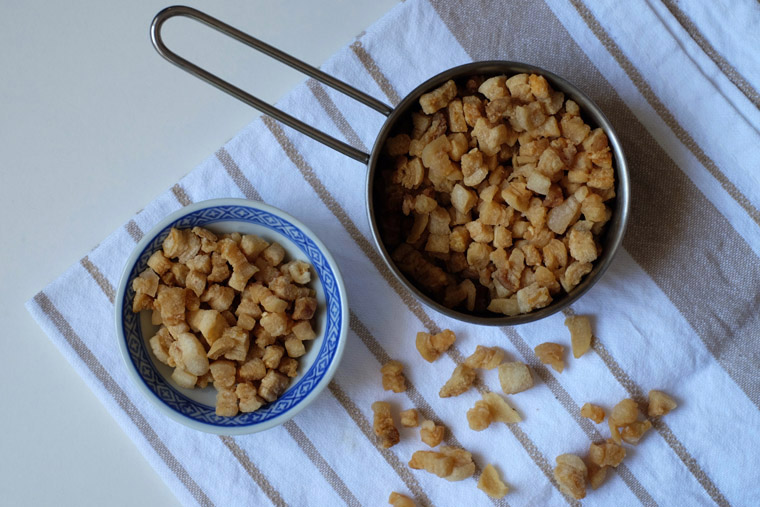
Recently, we’ve been going to a few popular Hokkien Mee stalls such as Damansara Uptown and Ah Wa Hokkien Mee. Crispy pork lard are sold separately, and charged at what I considered a high price for just fats. When I make my own, I no longer wonder why: 1/2 kg slab of fat makes barely 1 cup of crispy pork lard!
You need only cook the pork lard with nothing other than a wok and a little bit of salt. But the difficult part is dealing with splattering oil, and taking the lard out from the oil at the right time so that it brown perfectly and not burned. If you do not mind the toil, you’ll be awarded with delicious crispy bits. Oh, so satisfying!
TOOLS
- Chopping board + knife
- Wok
- Strainer
- Paper napkin (optional)
- Air-tight container
ACTIVE TIME
25 minutes
RECIPE CARD
Crispy Pork Lard (Chu Yau Char/ 猪油渣)
Ingredients
- 500 gram slab of pork fat, chopped into 1 cm cubes
- 1 tsp salt
Directions
- Step 1 CHOP FATS: Chop pork fats into 1 cm cubes.
- Step 2 HEAT WOK: Heat wok on a medium fire. When pan is hot, add the chopped fats in the pan.
- Step 3 SEASON: Sprinkle salt evenly.
- Step 4 RENDER LARD: Cook lard until oil is released, or about 10 minutes. Occasionally stir the lard to avoid the pieces from sticking on the pan.
- Step 5 BROWN LARD: When oil start to bubble and lard float, turn down the heat. Keep an eye on the lard and quickly remove them when they just begin to brown. The lard will continue cooking, and turn golden brown.
- Step 6 STRAIN LARD: With a strainer, scoop lard and strain it over large bowl. Place the lard on paper napkin. Pour oil into the bowl.
- Step 7 STORE: When cooled, transfer crispy pork lard into airtight container. Do not discard the oil – keep it in a jar as cooking oil or to drizzle over food.
SHORT RECIPE
Chop 500 g of pork fats into 1 cm cubes. Heat wok, add fats + 1 tsp of salt. Cook until cubes float and brown (10 min). Strain, cool & store in containers.
COOKING TIPS
- Chop fats when it’s slightly hard. To chop fats into 1 cm cubes easily, place it in the freezer for a while so it hardens. That is because fat solidifies at lower temperature. If you leave it out, it’ll become soft which makes it hard to chop the lard into perfect cubes.
- Larger cubes. If you prefer, you can chop it into larger cubes. However, I think 1 cm is just right.
- Crucial to remove pork lard at the right time. The most important part of cooking lard is removing them when its browned but not burned. However, if you cook it at a relatively high heat, the transition can be very fast. One moment it just begin to turn golden brown, and another moment it seemed over fried.
- Reduce heat to medium low. If you’re not confident with your cooking, when the fat floats and begin to turn colour, reduce the heat to medium low. However, this will take a longer time.
- Control browning accordingly. As I’ll be keeping the lard over a few meals, I prefer to not brown it too much. That is because it will brown more the second time (when I put it into the toaster oven/ air fryer). This way, the lard wouldn’t brown too much and turn bitter.
Enjoy!
Pingback: RECIPE: Crispy Pork Lard- 2 ingredients – JewelPie
Used to eat crispy chu yau char mixed with a little tau cheong, add finely diced bird eye chillies, sugar and squeeze calamansi juice. Try this . It is so appertising
Wow. I happen to have everything in my kitchen – I’ll give it a go! Thank you for letting me know 🙂 What do you eat it with?
Pingback: Easy Malaysian Hokkien Noodles – 10 ingredients – New Malaysian Kitchen